


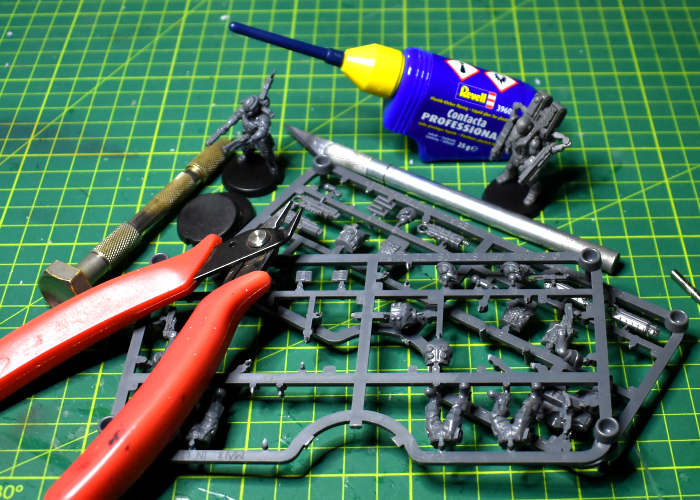
Working with Plastic
There are a range of different plastics used for miniatures these days, but for the purposes of this article we're talking specifically about High Impact Polystyrene, which is the sort of plastic most commonly used for injection-moulded plastic miniatures. (For a run-down on the different materials used for miniatures, check out our Miniature Materials article!)
One of the biggest benefits of this sort of plastic for miniatures is that it is really easy to work with. Below, we'll run through some tips and tricks for assembling and converting your plastic models.
De-spruing - Plastic models come on a frame (commonly called a 'sprue' by hobbyists), and so the parts need to be removed before you can assemble or paint. Some people like to paint the models on the sprue, but this generally isn't advised as it leaves you with unpainted patches from the sprue connection points that need to be touched up at the end.
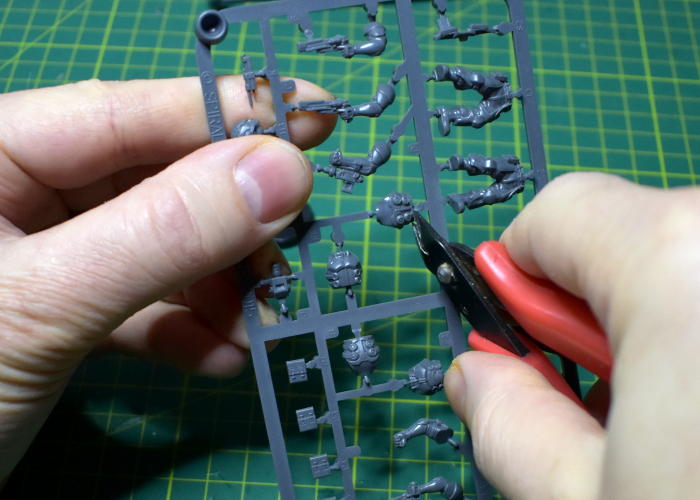
Clipping parts from a plastic sprue.
Use clippers to remove the pats from the sprue, cutting as close in to the part as possible with the flat side of the clipper blades. (See our 'Modeling Toolbox' article here!) You can also use a sharp hobby knife, but the pressure required to cut through the plastic can sometimes result in delicate parts getting broken, so clippers are preferable. Likewise, while you can sometimes twist or pull parts off the sprue without cutting tools, this can result in snapped pieces or the connection point pulling away a layer of plastic from the part's surface.
Cleaning Mould Lines - Plastic sprues are produced in pressure injection moulds, which are comprised of two blocks of metal with a cavity in the middle. As a result, plastic parts will generally have a raised seam where the two parts of the mould meet which, for best results, should be cleaned off before you paint. The two most common ways to do this are to scrape it with the edge of a sharp knife blade or specialised seam scraper tool, or use small files to smooth it down.
Using a knife to scrape mould lines.
Which method is best is down to personal preference and/or what tools you have to hand. The main consideration is to go carefully to avoid damaging any detail that is actually supposed to be there. Using files, you may need a few different tools to get into crevasses and work around different shaped components, where a knife blade can scrape or cut as needed.
Gluing Components - While superglue is often quick and convenient, plastic glue (also called polystyrene cement) is best for plastic models. While it doesn't set as quickly as superglue, that can actually be a bonus when assembling multi-part models, particularly where multiple parts need to meet up in specific places. Apply a small amount of plastic glue to one of the parts being glued, press it to whatever you're joining it to for a couple of seconds to let the glue grab, and then you have a little time (exactly how long will vary between different glues) to tweak the position of the parts.
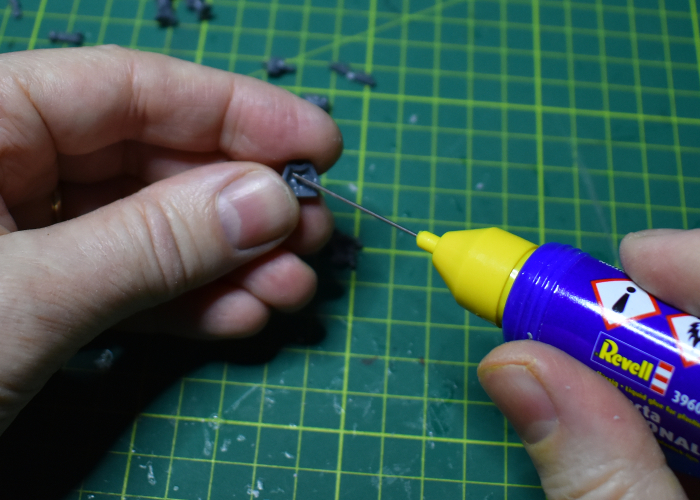
Applying plastic glue.
Note that this only works for models that are completely plastic. If you are gluing plastic parts to metal or resin models, or using resin bases rather than the usual black, plastic ones, then you will need a different glue. See our Types of Glue article for details.
Cutting Components - Assembling models by the book is all well and good, but sometimes you want to mix things up a little. Plastic is a wonderful material for conversions, as it is so easy to cut and glue. Smaller/thinner parts can usually be cut with a sharp knife, although for larger pieces you might want to use a razor saw or clippers and then sand or file down the cut edge.
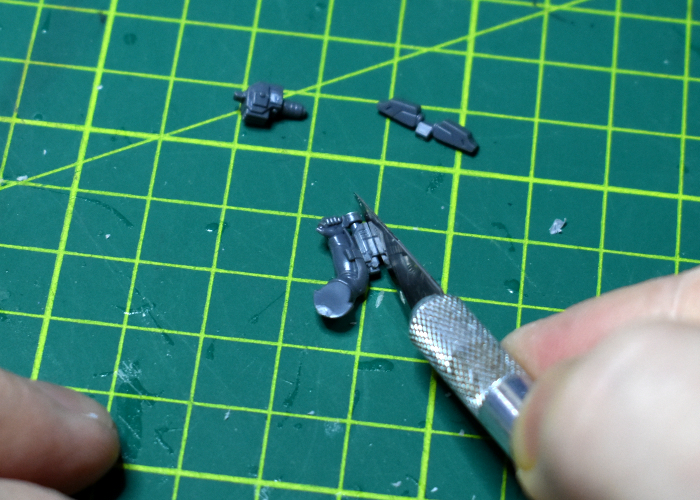
Cutting components for conversion.
Drilling Components - Some models benefit from pinning, which is a way of reinforcing a joint by drilling matching holes onto the components being joined and gluing in a length of metal wire to hold them together. This is rarely necessary for plastic models, unless you're gluing heavier metal or resin parts to them, so will be covered in the different article. The more common need for drilling where plastic models are concerned is to drill out weapon barrels. Because of the inability of plastic injection moulding to handle undercuts in the material, weapon barrels are usually solid across the end, unless they can have a separate muzzle piece that can be cast sideways on the sprue. While it's not always essential, and many people don't bother with it, some modelers find drilling out the weapon barrels an important final step in completing their models.
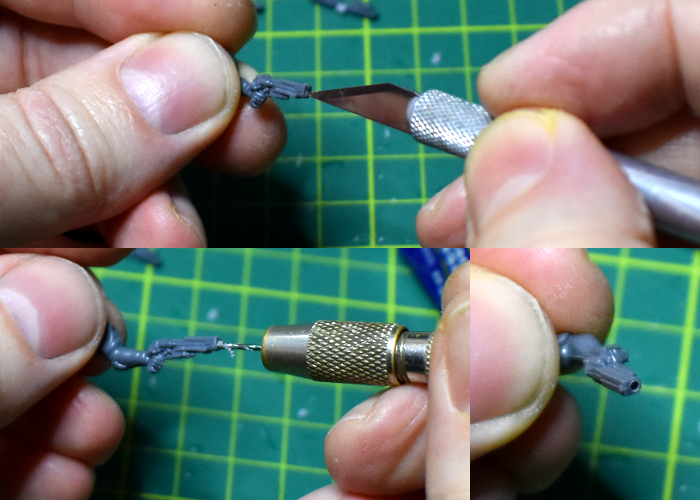
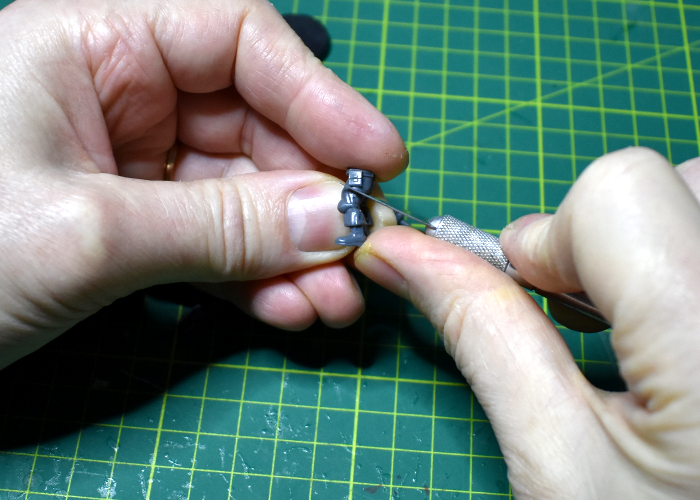
Drilling out a pistol barrel.
Use a sharp knife point or a metal spike to make a guide hole in the centre of the weapon barrel, and then use a pin vice with an appropriately sized drill bit to drill in a short distance. There's no need to drill the entire length of the barrel, just far enough that the inside of the hole is in shadow. If your hole winds up slightly off-centre, you can wiggle the drill bit slightly, or use a knife blade to carefully widen the hole to even it up. This obviously makes the hole a little bigger, but is preferable to a lop-sided gun barrel!
Gap Filling - Plastic models are usually engineered to fit together snugly, but because the plastic is fairly soft, some slight warping of parts can happen during the moulding process. Damage during de-spruing, mould line removal or assembly, or parts that are cut or otherwise reshaped for conversion can also wind up leaving small, unsightly gaps in the assembled model. These gaps can sometimes vanish during assembly if you apply your glue and then push the parts together and rotate them slightly a couple of times before setting them in place properly. Even after assembly, if you are using a thicker, gel-like plastic glue, small gaps can sometimes be filled by pushing a little glue in there and letting it set.
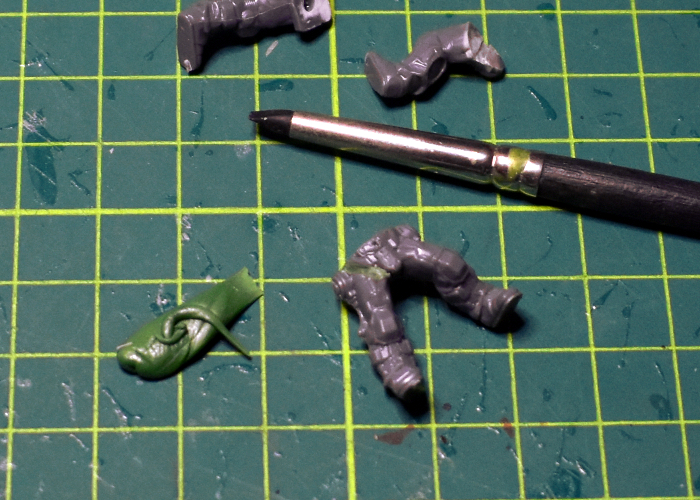
Using green stuff on a converted hip joint.
For larger gaps, you can use a putty like 'Green Stuff' (also known as Kneadatite). We'll have a look at how to use putty in a later article!
And finally: Painting! - Plastic models can be painted with any acrylic model paints. Start with a solid basecoat - A spray primer will give the best, most durable foundation for painting over, but even without a primer most good quality acrylics will adhere well to plastic. Just make sure you give the basecoat plenty of time to fully dry before applying more paint over it.
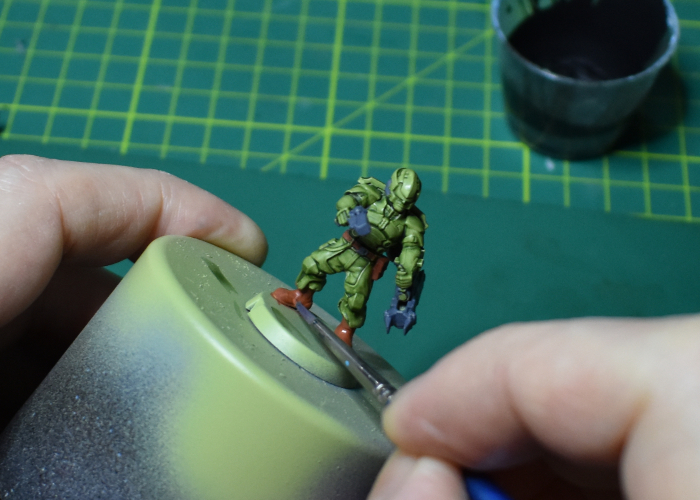
Painting in progress.
Many gamers like to finish their models with a coat of varnish, both to protect the paint and to dull down shininess from ink washes. Others prefer to not use varnish, as it dulls down metallic colours, and can affect the shade of other colours and highlights. Acrylic paints are generally quite durable even without a varnish, so which of these options is the 'right' one is generally just a matter of personal preference.
We'll be covering different paint options in more depth in a future article - stay tuned!
For more modeling articles covering a wide range of different types of kits and materials, check out our Tips and Techniques, Modeling Articles and Terrain Building Articles Hobby sections.
You can find the full range of Maelstrom's Edge models in the webstore here. Be sure to share your modeling projects on the Comm Guild Facebook Group!
