


Enter, The Pact - part 2.
Turn 2
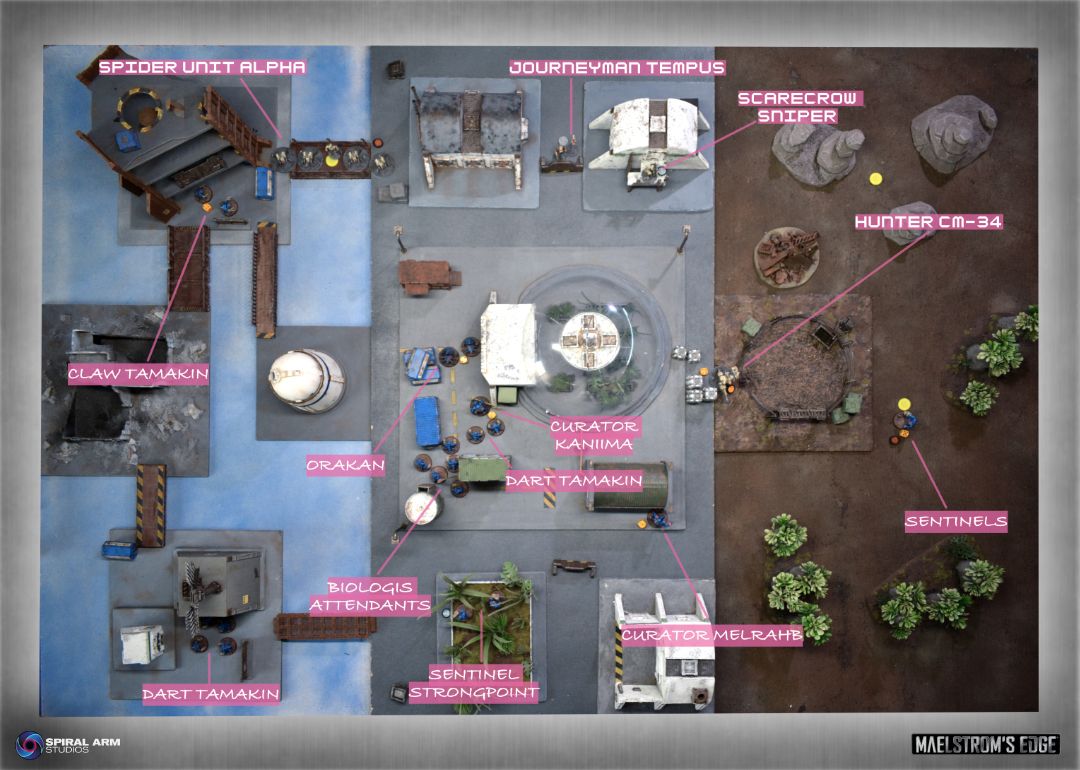
Priority went to the Kaigus Pact again. Curator Kaniima took the opportunity to once more blast the Hunter FK-16 with acid. With three shots, he scored two hits and a critical hit, dropping the warmech's armor to 1. The robot managed to block one hit, but was reduced to FOR6, on suppression level 5. Before it had time to recover, the warmech was immediately blasted again as Kaniima used Namite Deconstruction (a free action) to strip the remaining point of armor and inflict 2 injuries on the hapless machine.
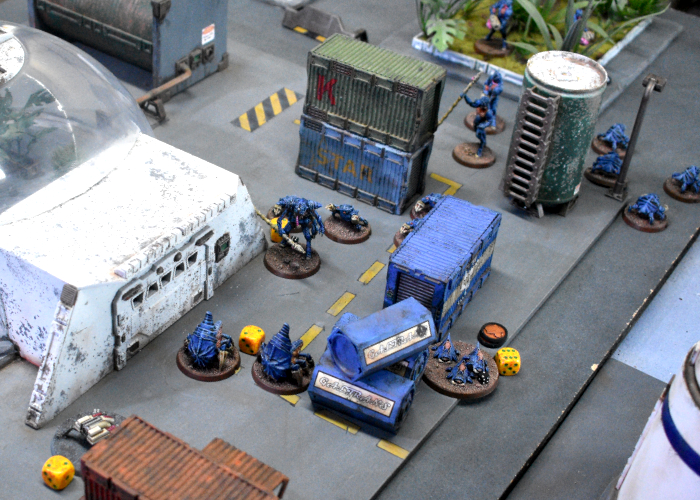
With one action left, Kaniima used Hypergenesis and a wealth of command points to spawn a new pair of Orakan and another dart Tamakin unit.
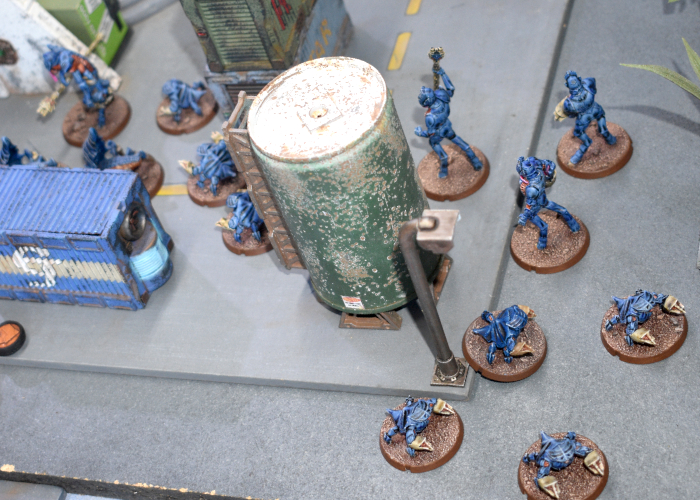
Kaniima bolsters the Kaigus center with new units.
In the grazing grounds, the remaining Firefly attempted to make a hit & run attack on the Muharis Sentinels, but is cut down by defensive fire. Hunter FK-16, meanwhile, undeterred by the liquified armor dripping off its frame, moved up to bring Kaniima into short range, unloading all of its weaponry into the Curator. Its Flakk Cannon and Cluster Missiles managed to inflict 4 injuries and 2 points of suppression on the Kaigus, before the Hunter successfully shook off one point of its own suppression.
Undeterred by its sudden lack of armor, the Hunter remained an effective weapons platform.
In retaliation, the dart Tamakin moved up alongside Kaniima, bringing their own dark hosts into short range. With the Hunter's exterior so stripped down, even the Tamakin's light weapons were able to inflict another two injuries, pushing its suppression up to 6. Pushing through the smaller thralls, the Orakan bellowed and charged the damaged Hunter. Reduced to firing 2 weapons, the warmech was only able to score one hit on the approaching thralls. their head armor easily blocked the hit, with their suppression level raised to 1. Bull Charge allows the Orakan to add their current suppression level to their CQA when they charge, giving them both SHO 3, enough to tear the weakened Hunter apart. As the detritus of the warmech's destruction rained to the ground, the Orakan tried unsuccessfully to shake off their suppression point, remaining on level 1.
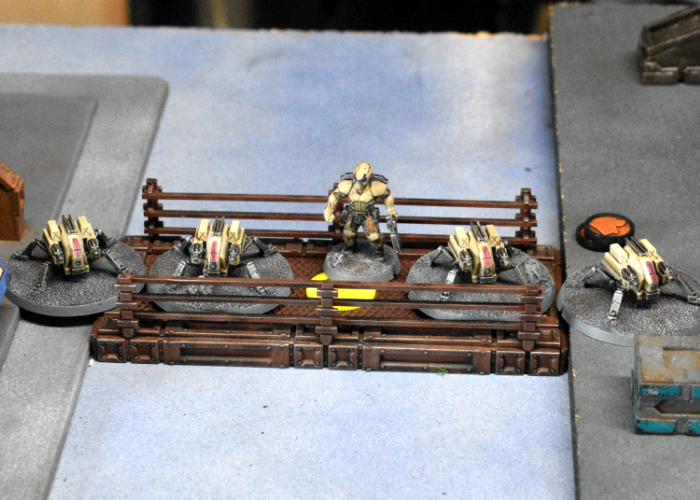
Hunter CM-34 kept advancing towards the roundyard, aiming at the Muharis Sentinels. Between the Hunter's suppression and the Muharis being On the Move, the Hunter lost 4 shots from this round of shooting. Deactivating its Suppressor Machine Guns, the warmech opened up with Chaingun and Strike Missiles, inflicting 4 injuries on one of the Kaigus soldiers before shaking off a suppression level, down to 3.
CM-34 sets its sights on the Muharis unit.
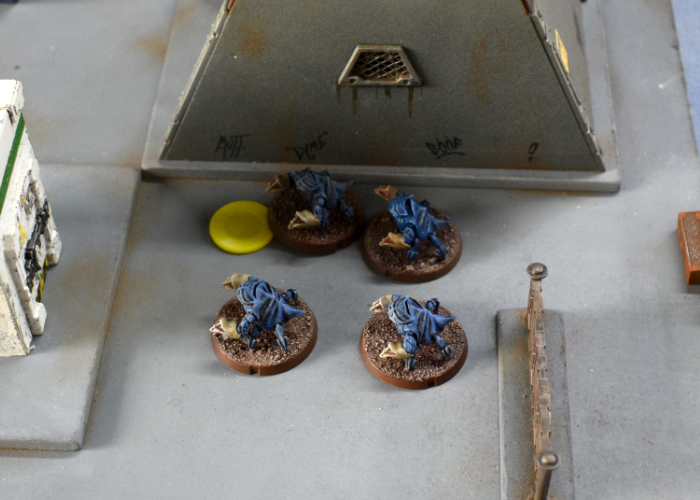
Journeyman Tempus chose to remain in cover, taking a pot shot at the Orakan in the wreckage of FK-16. His pistol shots were both blocked, just raising their suppression another point.
Tempus tries unsuccessfully to wound the Orakan.
Tempus then issued an order to CM-34, dropping its suppression another level, before spending two more command points on Push the Machines, bumping it back up 3 levels again but allowing it to take another shot at the Sentinels. This time, the Hunter's firepower inflicted 6 injuries, killing the two Muharis and leaving just the biologis Adept standing, before the Hunter shook off a suppression level again to finish its second activation.
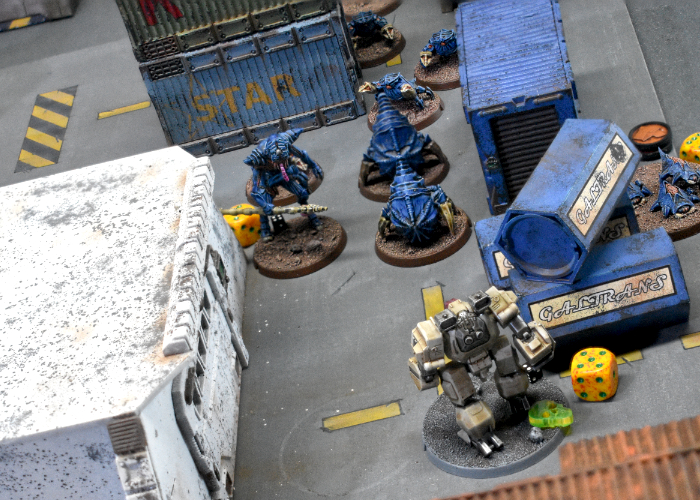
With the bulk of the Kaigus Pact force still in the table center, the Sentinel Strongpoint unit sought to remove the obstacle of the Flakk Spiders. Their Brood Launcher salvo rained down on the drone squad, destroying all but one Spider. This suddenly lonely bot was quickly finished off by the Biologis Attendants, moving in behind the Tamakin and blasting the robot with acid and darts.
The Kaigus Pact take control of the plaza.
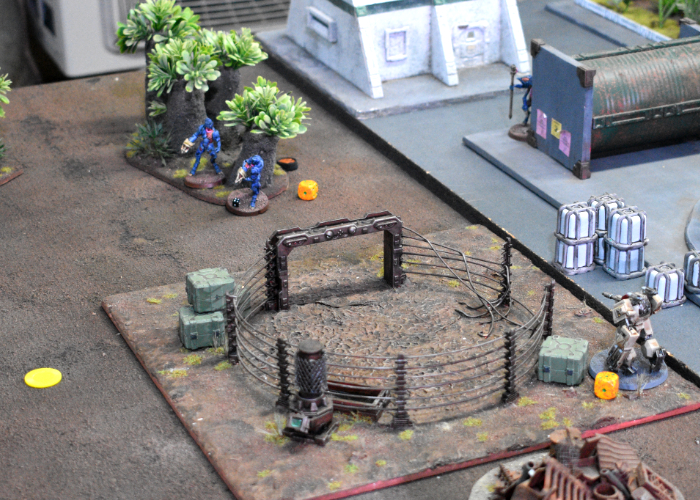
Spider Unit Alpha dashed out from the relative safety of the generator complex's lower level to capture the objective on the nearby bridge, their wild shooting unsuccessful at taking out any more of the claw Tamakin in the ruins. Journeyman Bracks remained in his cover, but managed to finish off the last Vapor Thrall base with a well placed pistol shot.
The Spider unit takes control of the bridge objective.
Kaniima's spawned dart Tamakin dashed along the rear edge of the battlefield, streaming along the rearmost bridge with On the Move granting them an additional 4" of movement to take control of the comm station objective.
Tamakin take control of the objective beside the comm station.
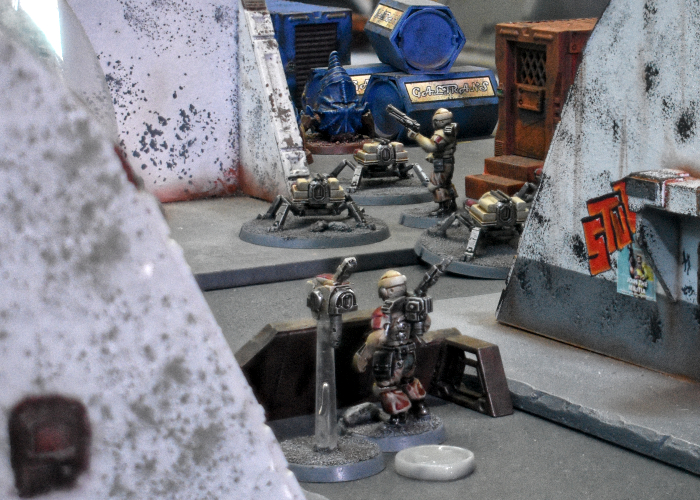
Curator Melrahb, still lurking behind the water tank, aimed his Genostaff at Hunter CM-34. The staff's projectiles were insufficient to damage the Hunter, but their clouds of vapor scrambled the warmech's systems, rendering it Confused and raising its suppression to 4. The Curator then shook off one of their own suppression points, down to level 1.
The Scarecrow Sniper tried to finish off the Sentinels' Adept, inflicting 3 injuries and raising their suppression, but not managing to kill the Kaigus.
With the Epirian forces all activated, the claw Tamakin charged from their ruin hidiehole, bearing down on Journeyman Bracks. His defensive fire raised their suppression but didn't manage to kill either of the charging Tamakin. In return, the enraged thralls used their claws to devastating effect, two critical hits ripping the poor bot handler apart.

Claw Tamakin take out Journeyman Bracks.
On the far flank, the Biologis Adept dashed out from the forest to take control of the roundyard objective, shaking off a suppression level as they went.
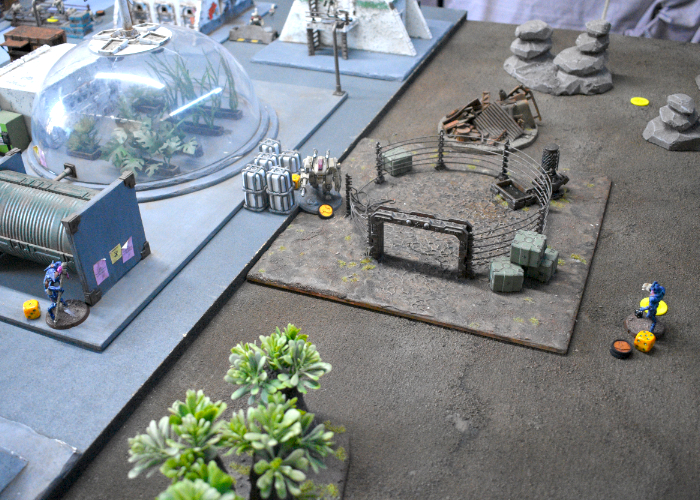
Braving enemy fire, the Adept moves into the open to take the objective.
At the conclusion of turn two, both forces had once again inflicted casualties, scoring another 5 VPs each. Both also took another 1 VP each from their Faction Objectives. The Kaigus Pact had the greater number of kills this time around, though, putting them on 23 VPs to the Epirian's 20. This took both sides over the VP threshold of 20 for the mission, but without a large enough lead for the Kaigus Pact, the game continued.
The battlefield at the end of turn two. (Click for bigger)
Click to move on to Turn 3!
