Assembling Epirian Handlers

Adepticon or Salute?
If you got a copy of the Handler sprue in your swag bag at Adepticon 2016 or Salute 2016, then welcome! This page details the optimal assembly instructions for your models, and we hope you enjoy them!
Feel free to take a moment to check out our Getting Started page as it explains some of the core concepts of our game and universe which can help set the scene for your modelling and painting.
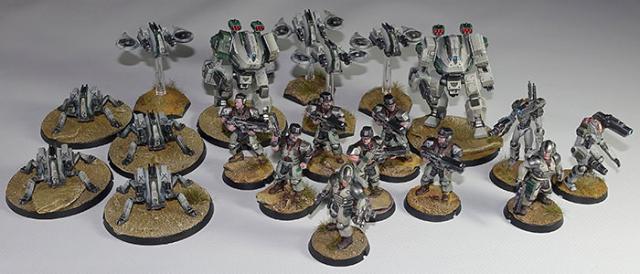
You can get 27 sprues for 13 different units, including some big robots, as well as a big pile of templates, cards, suppression tokens, dice, rulebook and more in the Battle for Zycanthus box set, available right now in our online store.
General Notes
Polystyrene cement - only use superglue if you want to go insane! All of our models are designed to be assembled with polystyrene cement as it gives some time to re-pose while gluing, fuses the models together and prevents brittle joins like other glues do. Make sure you have polystyrene cement in your toolkit before you begin!
We want you to experiment! We've broken our models up into lots of parts and given a fair few spare parts so that you can push yourself out of your comfort zone, learn new skills and create some really unique models. We've tried to price things so that it won't break the bank if you make a mistake, so please cut stuff up and have some fun. Start simple with a slice here and a re-pose there, and watch your confidence and skills increase until you are a master modeler!
Basing - Always make sure you glue your model to its base with an eye on the arc markers on the sides of the base. The arc marker indents should be at the halfway point between the front and back of the model to show the front and back halves of the model when gaming. See the Maelstrom's Edge rulebook for more detailed notes on this.
Dry fit before gluing! - There are lots of pose options possible, but that means there is also the freedom to screw up and make some bad poses! Sticking the parts together and seeing how things look will usually lead to a model that is fairly static and repetitive. You should consider knee, hip, torso, and arm positions when gluing and ensure that you have a pose in mind before you start gluing things together. If in doubt or insecure about your talents in the posing area, we recommend you try to copy the poses from some of our studio models found here in the gallery.
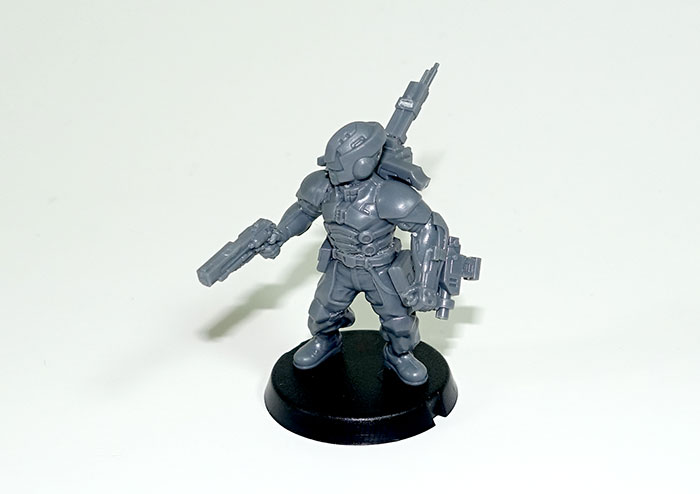
Epirian Handler Assembly Notes
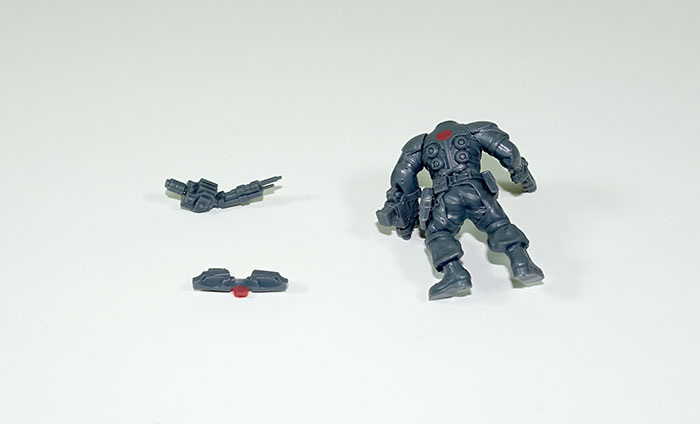
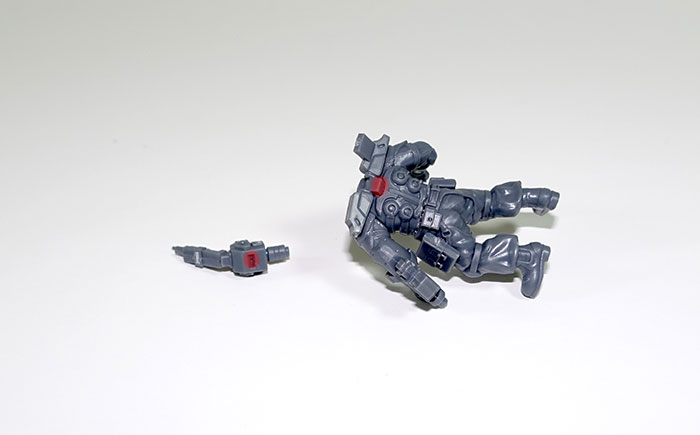
Two Epirian Handlers can be made from the following sprue:
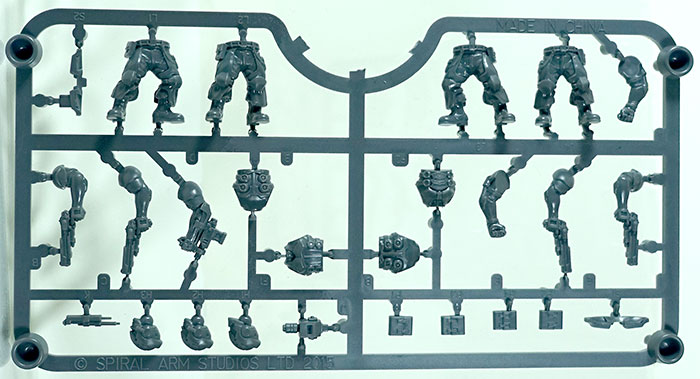
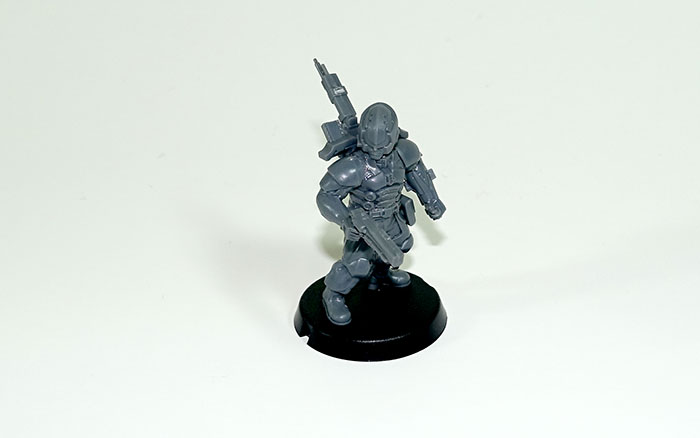
There are two types of handler - the Journeyman (used as the Epirian HQ) and the Apprentice (used as the controller in a squad of Spider Drones).
The Journeyman is typically identified by the (optional) backpack antenna - parts J and K. The assembly for this is a little bit unusual, so here's how it goes together:
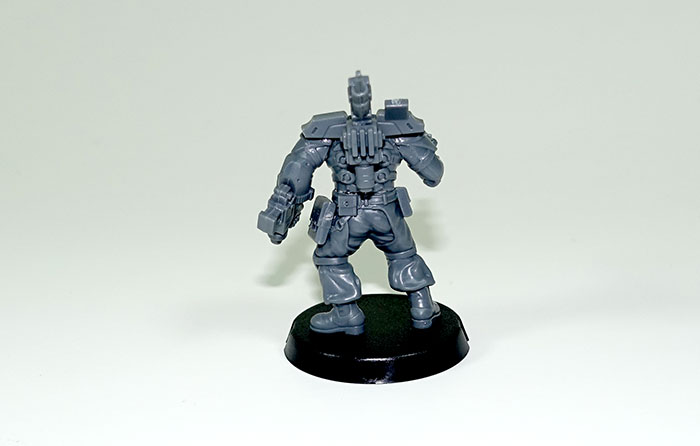
Torsos all have the same back 'B', but have two styles for the front - F1 and F2. We've typically used the torso 'F2' for the Journeyman, but the Epirian Foundation is broad and largely meritocratic when it comes to handler talents, so there is no real reason to use any specific decorative parts for your handlers, so long as you and your opponent are able to clearly differentiate them on the tabletop. Torsos snap-fit together, so only use a tiny dab of glue or it will spill out of the seams.
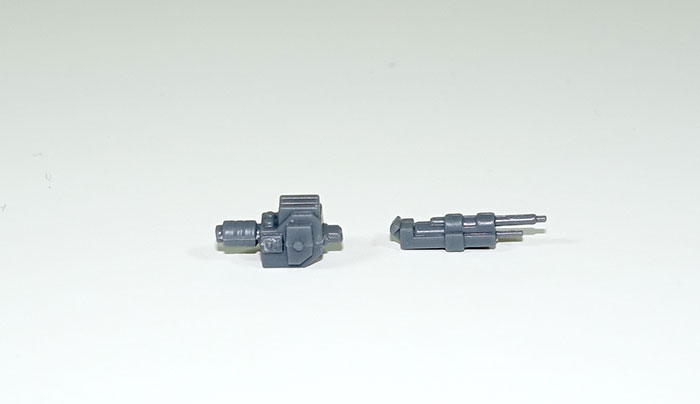
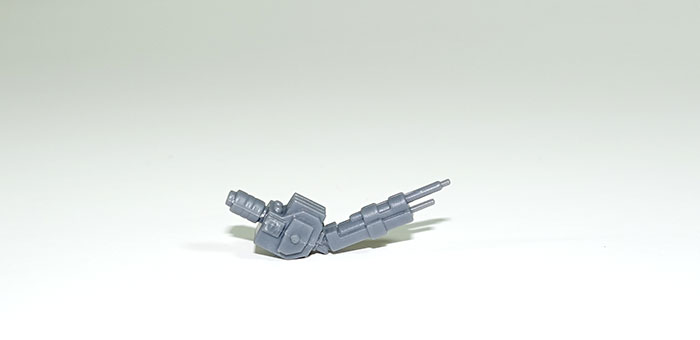
Only the Journeyman handler can be equipped with the auxiliary grenade launcher (part D), and only the Journeyman can be equipped with double Maglock pistols (one in each hand). Parts A and E have the wrist mounted Tactile Bot Interface of the Apprentice handlers, but Journeyman handlers may use them for redundancy (their Neural Bot Interface being within their helmet). We like to differentiate the Neural Bot Interface by using the shoulderpad part S1 with the popup computer screen over the model's right shoulder.
The pouches for the legs (P1-P4) correspond to the legs (L1-L4) so be sure not to mix them up. The pouches attach over the pouch that is sculpted on to the side of the leg and are fully optional, but help make your Handler stand out from the standard Epirian contractors.
As with the Epirian Contractors, the Handler models have a slight forwards lean to them. This means that some poses and arm positions can look a little bit strange if you base them on a completely flat base (though we've generally done that with all of our studio models, so feel free to use them for reference). We highly recommend you experiment with putting a bit of texture under one of the model's feet to lean them back slightly before attaching the torso, as this will open up a lot more natural pose options and flexibility.
Be careful with matching arms to legs as some of the bends and shapes in the legs, torso and arms are not compatible. As always, be sure to dry fit and find the pose that works for your goals and if in doubt try to emulate our studio models, all of which are stock assemblies without conversions. Additionally, be careful when clipping the arms off the sprue as cutting the sprue connection point too close to the part can take out some of the shape of the shoulderpad. It is always better to cut the sprue with some distance from the part, then trim it down with a sharp hobby blade/craft knife. Legs L3 were added as we had extra sprue space, but compared to the other legs, do not fit the handler posing as naturally for a lot of arm combinations, and as such we'd recommend you lean away from using legs L3 until you really want to push your model posing skills with enhanced basing.
The Epirian handler sprue comes with four pairs of legs and enough parts to build two models. The other legs are fully compatible with your Epirian Contractor sprues, so feel free to reuse them there for additional pose variance within your contractor squads. The only point of note is that contractor legs have a small hole in the kneepads, so if you want perfect consistency we recommend you drill a tiny hole when doing that.
Assembling in the following order generally makes things easiest:
1. Legs to base
2. Torso to legs
3. Arms to torso
4. Head to torso
5. Backpack/shoulder pads/antenna
Enjoy building these models? Check out the Battle for Zycanthus box set, available right now in our online store for 27 detailed plastic sprues of sci-fi goodness! Here are (just!) the Epirian models included in every set: