


Karist Shadow Walker Assembly Guide
General Notes
Polystyrene cement - only use superglue if you want to go insane! All of our models are designed to be assembled with polystyrene cement as it gives some time to re-pose while gluing, fuses the models together and prevents brittle joins like other glues do. Make sure you have polystyrene cement in your toolkit before you begin!
We want you to experiment! We've broken our models up into lots of parts and given a fair few spare parts so that you can push yourself out of your comfort zone, learn new skills and create some really unique models. We've tried to price things so that it won't break the bank if you make a mistake, so please cut stuff up and have some fun. Start simple with a slice here and a re-pose there, and watch your confidence and skills increase until you are a master modeler!
Basing - Always make sure you glue your model to its base with an eye on the arc markers on the sides of the base. The arc marker indents should be at the halfway point between the front and back of the model to show the front and back halves of the model when gaming. See the Maelstrom's Edge rulebook for more detailed notes on this.
Dry fit before gluing! - There are lots of pose options possible, but that means there is also the freedom to screw up and make some bad poses! Sticking the parts together and seeing how things look will usually lead to a model that is fairly static and repetitive. You should consider knee, hip, torso, and arm positions when gluing and ensure that you have a pose in mind before you start gluing things together. If in doubt or insecure about your talents in the posing area, we recommend you try to copy the poses from some of our studio models found here in the gallery.
Shadow Walker Assembly Notes
The Karist Shadow Walker uses the following sprue:
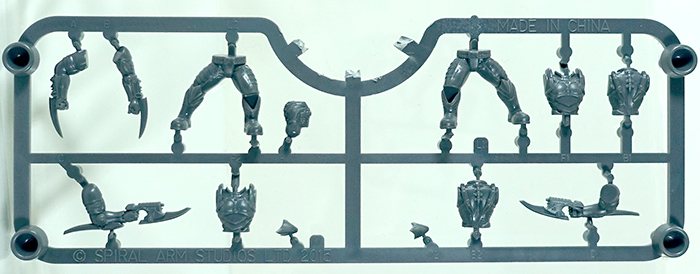
We should lead in with the obvious question - why is there only 1 head per sprue? The answer is a combination of technical, time and contractual limitations that locked us in to just one head per sprue. We still provide two full sprues in every Maelstrom's Edge Battle for Zycanthus set, which means that there are lots of spare parts for Shadow Walkers, and as a result you can make 2 full bodies for each, allowing you to decide which one you like most. Feel free to have a go at sculpting, casting or converting another head for your spare bodies to expand your skillset and army.
The second question we are often asked - why the separate kneepad piece? Injection moulded plastic requires that the components on the sprue do not have any overhanging parts (or they get stuck in the mould, destroying the model). The back of the kneepad (being a spike) has just that overhanging effect. As a result, we could either choose to blend the spike of the knee all the way back in to the leg (which would look horrible), or make the kneepad into a distinct element. We tried splitting the entire lower leg so that it would be easier to assemble, but found that the seam was just too rough and visible, so instead, we opted for the tiny kneepad piece, giving the best overall effect while maintaining the crisp point on the knee blade.
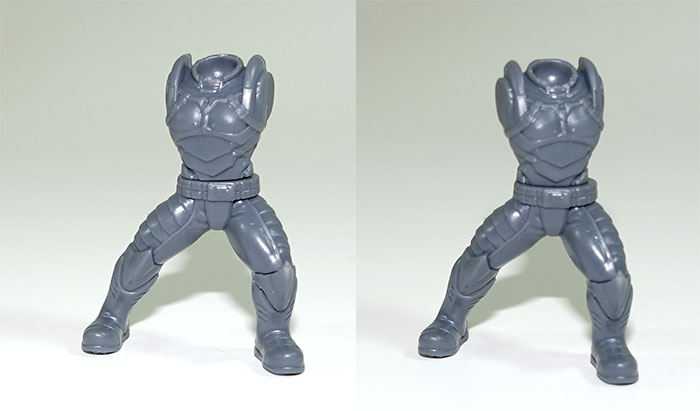
Kneepads and legs are paired - L1/K1 and L2/K2 - please note that this is NOT the nearest kneepad to each leg pair on the sprue, so be careful to not snip them both out at the same time and mix up which is which! Be very careful not to drop the kneepads when working on them as they are a massive pain to find, especially in carpet!
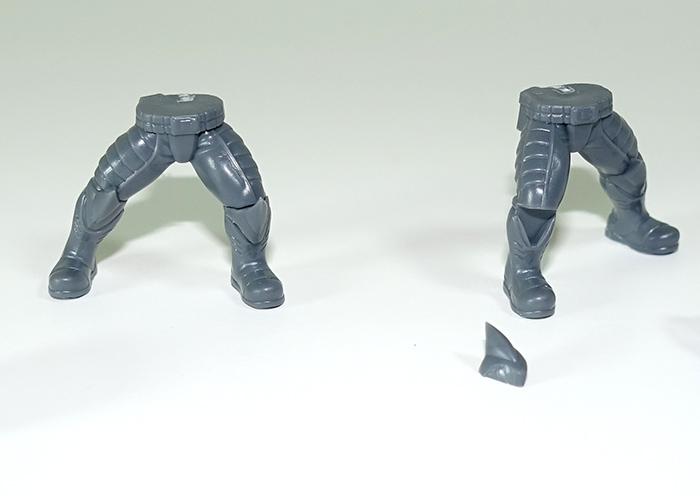
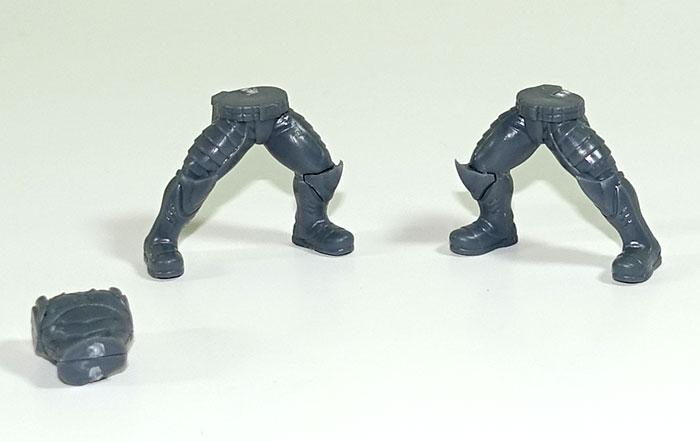
The kneepads are not meant to insert completely flush which might feel a bit strange when you are assembling the models, but leads to a greater sense of animation of the model when finished. Do make sure you trim down any mould lines and especially make sure you've trimmed down the sprue connection point on the kneepad though! Feel free to trim the back of the kneepads if you want a tighter fit but be careful as overtrimming will change the shape of the knees. The natural fit looks like this:
Torso halves are paired (F1/B1 and F2/B2). Torso halves are engineered so tightly you can push fit them together, but we still recommend the tiniest dab of polystyrene cement between them. You only need a tiny bit or you'll get overflow out of the seams though. The torsos should be carefully aligned with the legs for the best effect, but you can always experiment and if you use a dark colourscheme for the armour plates when painting them, you can get away with pretty much anything.
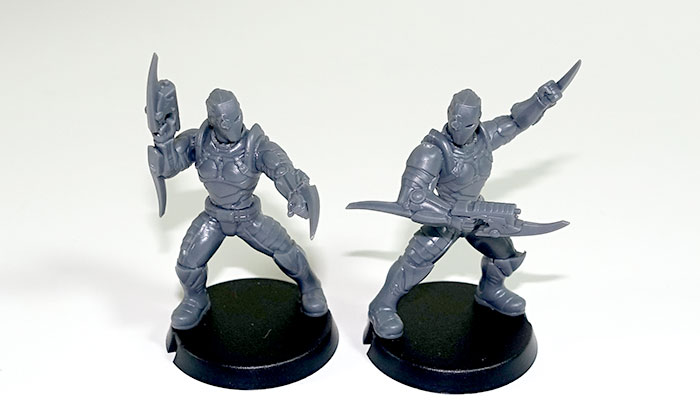
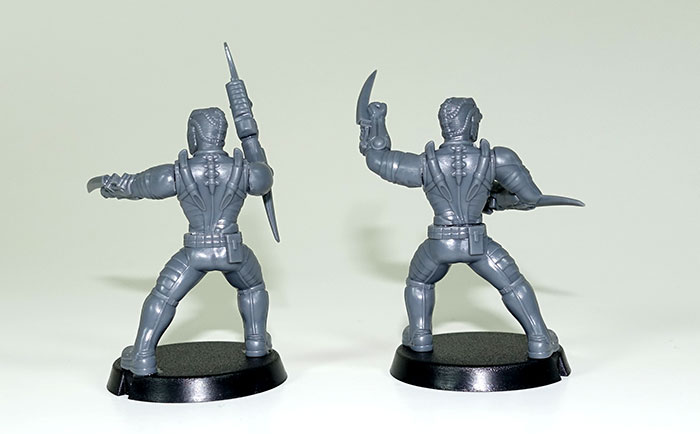
The best effect for torsos with the arms is using opposing twists - so that the bottom of the model points one way and the top points the other way like this:

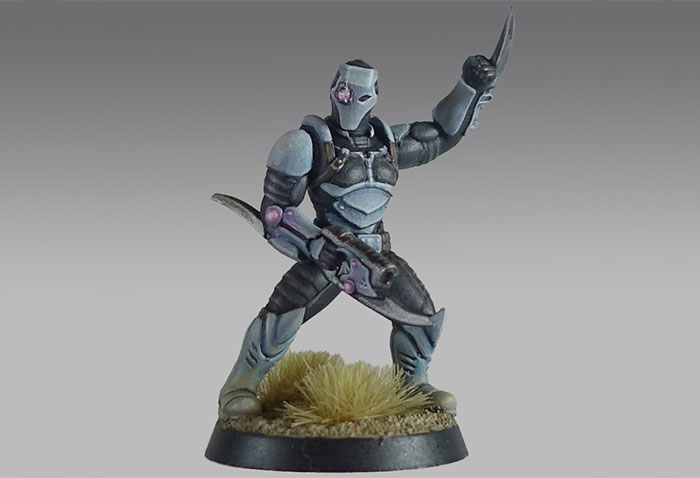
Arms are interchangeable, but be sure to dry fit first as there can be some odd poses if you use an arm in a weird way! Check out our finished models for ideas. We generally aim for one arm up, one arm down on our Shadow Walkers.
The best option for assembling your shadow walkers is to make four bodies with all the components of your two sprues in a set, then see which ones the heads look best on. A huge amount of posing flexibility is available thanks to the ball/socket joint on the head/neck, so as always, dont be afraid to experiment!
