Assembling Epirian Scarecrows
General Notes
Polystyrene cement - only use superglue if you want to go insane! All of our models are designed to be assembled with polystyrene cement as it gives some time to re-pose while gluing, fuses the models together and prevents brittle joins like other glues do. Make sure you have polystyrene cement in your toolkit before you begin!
We want you to experiment! We've broken our models up into lots of parts and given a fair few spare parts so that you can push yourself out of your comfort zone, learn new skills and create some really unique models. We've tried to price things so that it won't break the bank if you make a mistake, so please cut stuff up and have some fun. Start simple with a slice here and a re-pose there, and watch your confidence and skills increase until you are a master modeler!
Basing - Always make sure you glue your model to its base with an eye on the arc markers on the sides of the base. The arc marker indents should be at the halfway point between the front and back of the model to show the front and back halves of the model when gaming. See the Maelstrom's Edge rulebook for more detailed notes on this.
Dry fit before gluing! - There are lots of pose options possible, but that means there is also the freedom to screw up and make some bad poses! Sticking the parts together and seeing how things look will usually lead to a model that is fairly static and repetitive. You should consider knee, hip, torso, and arm positions when gluing and ensure that you have a pose in mind before you start gluing things together. If in doubt or insecure about your talents in the posing area, we recommend you try to copy the poses from some of our studio models found here in the gallery.
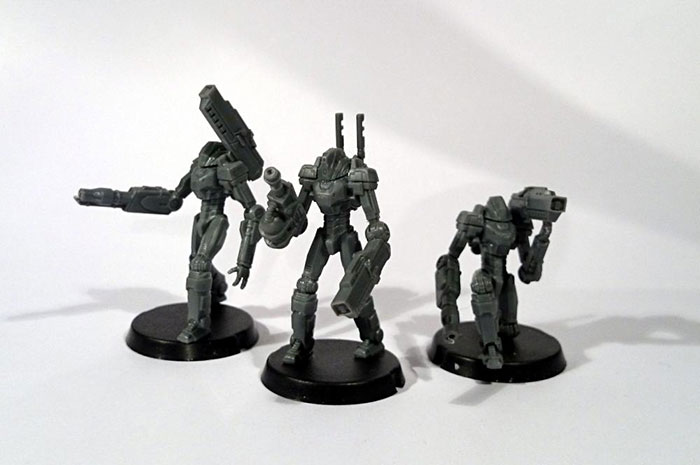
Epirian Scarecrow Assembly Notes
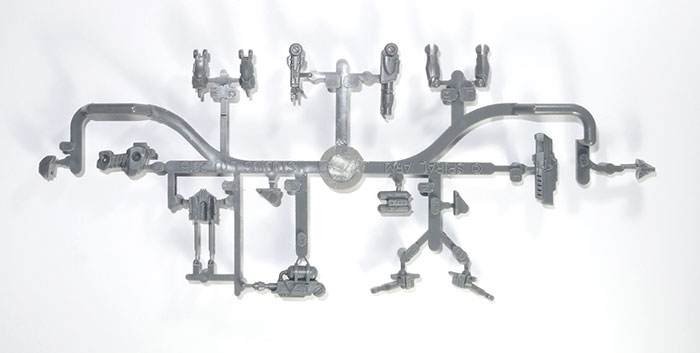
The Epirian Scarecrow is assembled using the following sprue:
The scarecrow is relatively simple to assemble, but there are a few important things to note. The model uses some very small parts which are quite fiddly, so be very careful not to drop them while building the model!
The upper arm parts F1/F2 have a slight 'bicep' which indicates the part of the arm which should face the front of the model. F1 is used on the model's right arm and F2 is used on the model's left arm as a result. If you've already assembled them the other way round, it is not a big deal though as there are plenty of variant robotics out there in the wider Epirian Foundation.
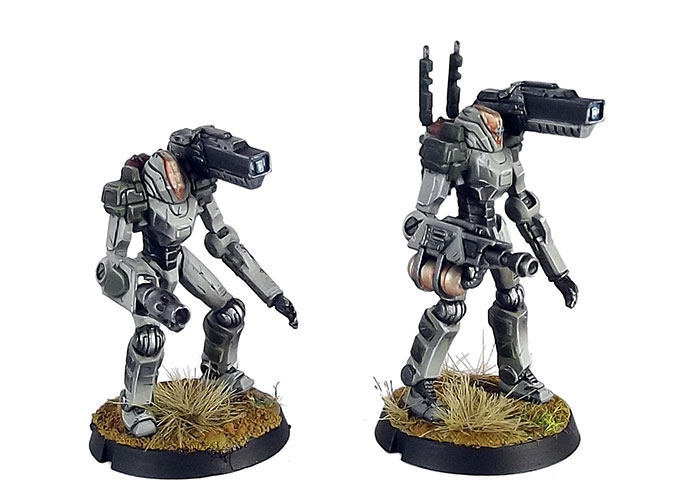
Leg parts (K, L, M) are keyed by number. While they look like they would be interchangeable, K1, L1 and M1 need to be used together, as do K2, L2 and M2. This is because there is a slight lean in the legs which is very subtle and not noticeable when built correctly, but can make the model feel 'wrong' if you mix and match parts. As such, be very careful not to muddle those pieces from the sprue or you will have a very hard time figuring out which goes with which. Please refer to assembled model pictures to check the orientation of the leg pieces:
The HQ variant of the scarecrow uses part H - the antenna, which simply clips over the fuel tanks. The antenna pieces are extremely fragile due to their thin detail, so be extra careful when transporting the model if you use this optional part, and be very cautious when clipping the antenna off the sprue. We do not recommend the use of a knife when taking it off the sprue as it will stress the piece too much. Using sharp sprue clippers will do the job nicely though.
The HQ variant also uses head B (the one with the additional detail).
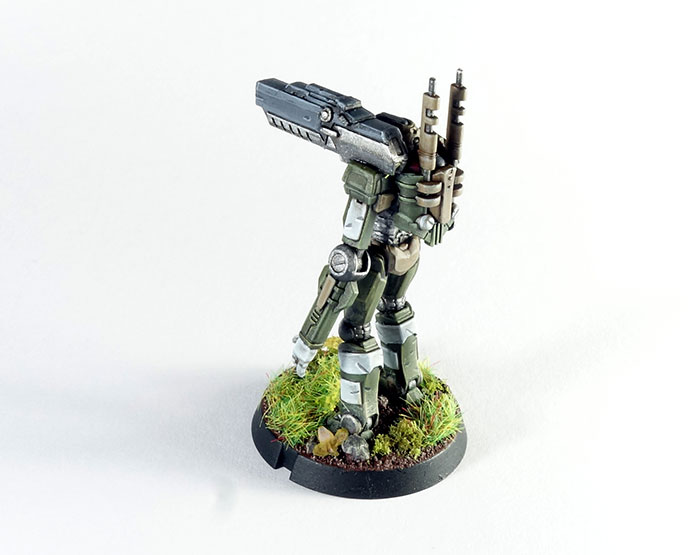
When attaching the head, we recommend you take some time to ensure sprue connection points and mould lines are trimmed as much as possible so that the fit is as flush as can be, The mould line on the connecting piece at the top of the torso which the head slots on to benefits most from some trimming for a super flush fit.
The railrifle gun (part E) simply slots over the model's left shoulder. If you prefer, you can easily fill the connecting indent with greenstuff and play with all sorts of poses as well to get a different profile to your model.
When equipping your model, the chemtek sprayer is part G and the clingfire sprayer is part I.
Here are a few conversions to give ideas for experimenting with variant robots: